Tiling to an Anhydrite Screed
Anhydrite screeds have become quite popular over the past couple of years as they have benefits over traditional sand and cement screeds which include low cost, minimal shrinking and self-levelling.
These screeds however can cause problems for fixers if the floor isn’t prepared correctly, because when an anhydrite screed dries a layer of laitance is formed on the surface. This layer of laitance needs to be mechanically removed before tiling as this layer is weak. Without removing, this layer will debond from the base and the tile will simply lift from the surface. Screed needs to fully dry before tiling can commence and removing the layer of laitance will help the screed dry quicker. A good guide to drying time is 1 day per 1-40mm in thickness (in normal conditions).
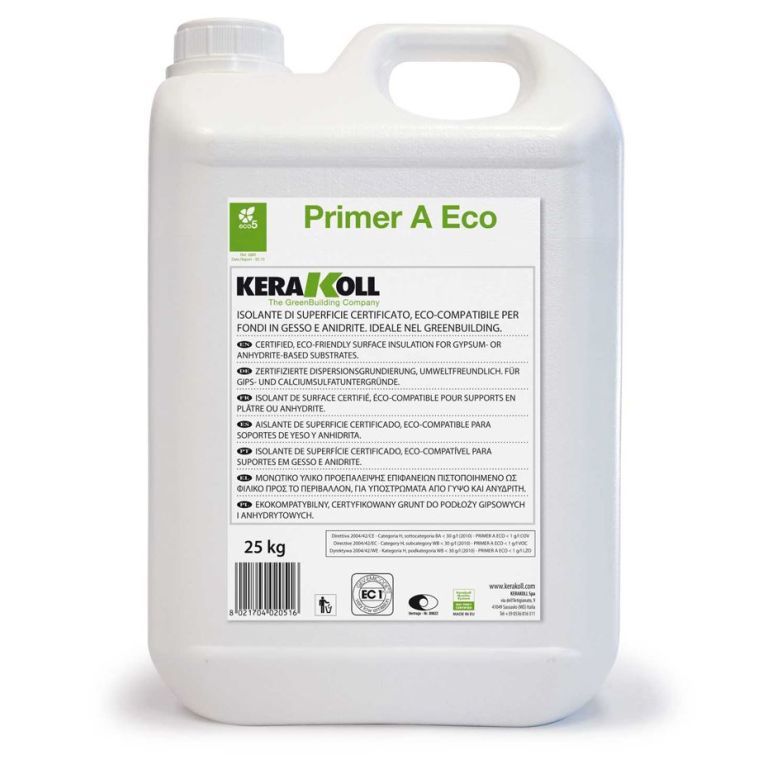
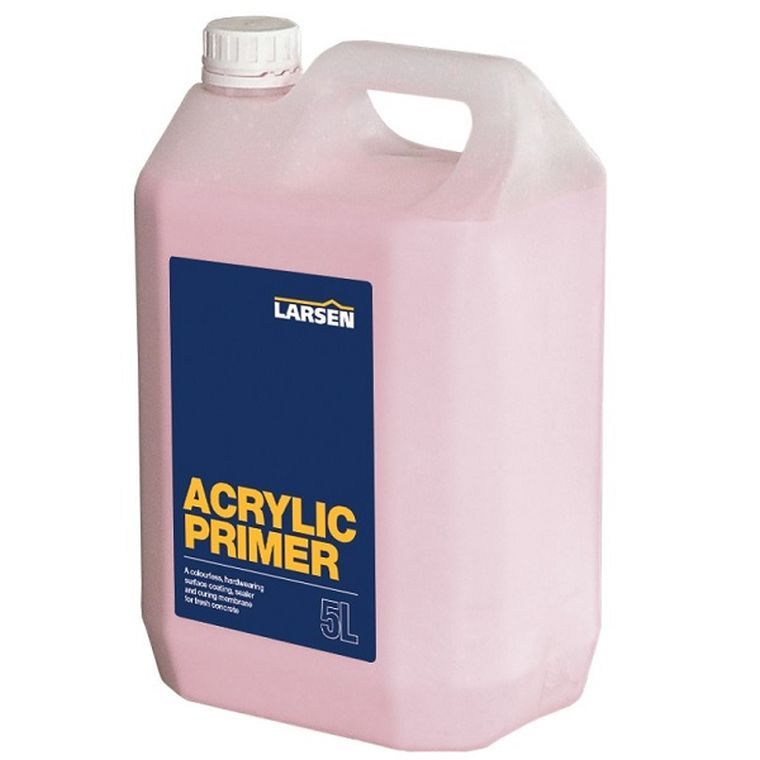
Due to the risk of a chemical reaction between the sulphate in the screed and cementitious materials in tile adhesive, the floor then needs to be primed with an acrylic primer. We would recommend either Kerakoll Primer A or Larsen Acrylic Primer to complete this process. The screeded floor needs priming at least twice, with the first coat being diluted 1:1 with water and the second coat applied neat. Adhesive is then required to be applied when the second coat has dried tacky.
It is often hard to tell the difference between an anhydrite screed and a traditional sand and cement screed, anhydrite screed will appear lighter, sometimes almost white. We always recommend, when possible, checking with whoever laid the screed first before tiling commences.
If fixing Karndean to an anhydrite screed all the above still applies but a screed needs to be laid on top of the existing screed before the Karndean can be fixed. Larsen SL1550 Self Levelling compound would be perfect to prepare such a floor.
Rees Tiles stock all the products needed for tiling screeds and can offer advice if you have any questions.